
So far I have posted instructions for desk top shadow puppetry screens (made of a box or a tri-fold presentation board), as well as larger screens to use with overhead projectors. Over the last weeks I have experimented with a portable in-between solution, which is ideal for classroom use. While the size is still right for desktop sized puppets in our Printable Library, the wider flat screen enables teams of 2-4 children to act out scenes that require more space.

What you need
- One or two sheets of 40″x32″ black foam board
- 36″x24″ sheet of 2-sided drafting film thickness .003″ (preferred) or Glassine art paper
- Two used 6′ or higher floor lamps with easily detachable shade and lamp fittings
- 15 ft sticky back velcro (0.75″ wide)
- Cutting knife
- Metal ruler
- Fine sand paper
- Black 0.75 or 1″ wide painters’ tape
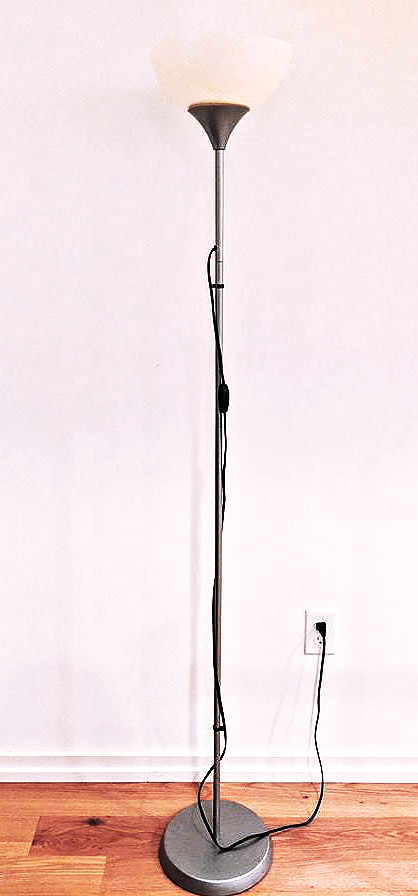 Lamp poles for supports
Look out for two matching Halogen or LED floor lamp (sometimes offered as “pole lamps” or “stick lamps”) on recycling or classified ad sites such as Craigslist or Facebook Marketplace (you usually find them advertised for not more than 5-6 dollar each). For the screens on this page I used Ikea floor lamps (shown left), which have top parts that can be screwed off relatively easily. After taking out the socket I used an iron file to get rid of the pieces of metal that stuck out.
Once you have taken off the lamp parts attach a 32″ long strip of velcro (the soft part) to the top half of each pole. You can cover the wire holes with velcro if you take out the plastic piece that is inserted (in the photo above you see the little holes on top, as I turned the upper tube upside down).
Screen
You can find 40″x32″ foam board and single sheets of 0.003 drafting film and glassine art paper in your local art store (mine were purchased at Jerry’s Artarama).
 Use a ruler to draw a 34″ x 17″ rectangle on the foam board (3″ distance from the sides and top) and cut it out with a box cutter on a mat or rug. Use sand paper to smooth the edges.
- Cut the piece of drafting or glassine paper to a 36″x19″ rectangle and tape it behind the open space in the foam board with black painters tape. Make sure that you stretch the paper enough to make the surface of the screen straight.
- Attach two 6″ strips of soft velcro along the top and bottom of both sides. These strips will be attached to the prickly side of the poles to hold the screen.
- Attach a 2″ strip of prickly velcro (or three 0.75″ strips underneath each other) below the screen. This will be used to attach holding rods of puppets and props to the screen. (On the photo above I used leftover red velcro instead of black).
Leftover drafting film
You can use remaining drafting film for props that may need a touch of white or transparent color. In the scene of Henry “Box” Brown at the top of this post I used orange and black marker to color the box on the drafting film, which allows children to see Henry folded up inside the box when he was shipped to Philadelphia.
Light behind the screen
Since the screen is made of very transparent material, any light directed at the screen will suffice, If you use a lamp or projector behind the puppeteers, they will have to crouch behind the lower part of the screen and hold their puppets above their heads, to avoid casting their own shadows.
Using a light between screen and puppeteers instead allows them to stand behind the screen and hold the moving rods in straight angles. I have found that a rechargeable clip-on piano light and music stand light provides a strong enough light and charge for a class performance.
Foam board underneath the screen

To avoid seeing the legs of the puppeteers underneath the screen you can use a second foam board of the same size and attach it with velcro to the top screen and poles.
If you attach this with vertical strips to the back of the screen you can easily adjust the hight of the screen, depending on the age of the children handling the puppets,
Using more screens for switching scenes
For classroom performances it is best to use two screens next to each other, which will facilitate switching scenes. While one team acts out a scene a different team can set up puppets and props for the next scene, which will speed up the pace of the performance. The light behind the screen should be turned off when it is not in use, so that the audience will focus on the action on the other screen.
In the photo above three poles are used for two screens. This will create the impression of two adjoining spaces, which could both be used in one scene. If more than two students are behind each screen, however, it is better to use two separate screens and not to share a pole.
For questions or suggestions please contact me or comment below!